Hello and welcome! You’ve walked into a space, and something about the floors stopped you—natural, warm, elegant. It was travertine. Maybe you’ve been planning a home upgrade or just moved into a property that feels one decision away from perfect. Now the question is—how do you get that flawless finish without costly mistakes?
If you’re considering professional travertine installation in East Mesa, AZ, this blog lays out six advanced yet doable tips to ensure your investment stands the test of time. Whether you’re new to tilework or refining your DIY game, don’t skip a step. Read through till the end to sidestep common errors and install like the pros.
What Makes Travertine Installation So Special And Tricky?
Travertine isn’t just stone. It’s fancier, rawer from nature, and one of the most timeless materials invented for home design. Its natural veining and warm tones elevate elegance, but laying it isn’t as easy as laying ceramic tiles. Travertine takes more care, more accuracy, and more time.
You might be wondering:
- How do you keep it from cracking?
- What kind of grout works best?
- Should you seal it before or after laying it?
No matter if you are doing an indoor remodel or thinking about doing your remodel with lawn edging in Phoenix, AZ, to give you that indoor/outdoor feel, this guide will show you how to install travertine like a pro. Now let’s get into the details.
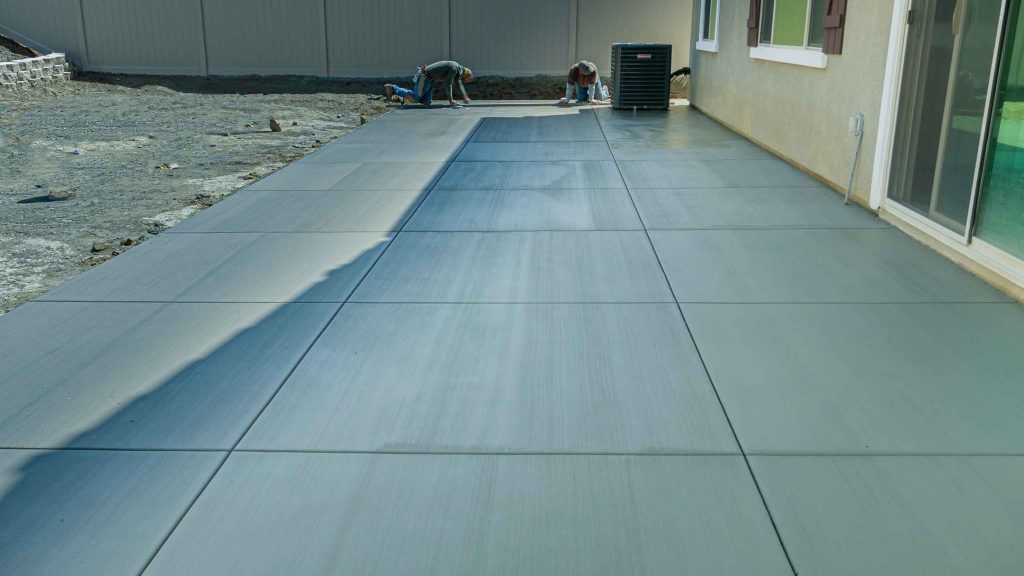
1. Start With the Right Tools and Surface Prep
Professional results start with the right gear. Gather the following:
- Wet saw
- Notched and margin trowels
- Level and chalk line
- Rubber mallet, mixing paddle
- Tile spacers and tapping block
Pro tip: Always double-check trowel size based on tile format. Using the wrong size will lead to lippage or poor adhesion.
Even if you’re hiring someone for professional travertine installation in East Mesa, AZ, asking about their tools can instantly tell you whether they’re truly experienced.
2. Why Does Surface Prep Matter More Than the Tile Itself?
Travertine is forgiving in looks, but not in performance. If the subfloor is uneven or cracked, the final finish will reflect every flaw.
Here’s what needs to be done:
- Remove old flooring down to the slab or subfloor
- Patch cracks and repair soft spots
- Use a crack isolation membrane if needed
This is one of those areas where quality landscapers and tile pros agree. Just like SOD installers prep soil to support grass, your subfloor must support natural stone.
3. Do a Dry Run Before Mortaring
Travertine has natural variation. No two tiles are identical. A dry layout lets you balance veining, tones, and sizes across your floor. Blend tiles from multiple boxes to avoid unintended patches of dark or light tones. Arrange tiles in an offset pattern for better flow. This is especially critical in large areas where light shifts can amplify tile tone contrast.
Once confident, label rows or stacks to replicate the mockup during actual installation.
4. Where Can Moisture Become a Hidden Threat?
One mistake beginners make? Rushing the job with damp tiles or a moist substrate.
Travertine is porous. Both the tile and the surface beneath it must be completely dry before installation begins. Moisture causes thinset failure and mold growth over time.
Tips:
- Let tiles acclimate for 48 hours indoors
- Test substrate moisture levels
- Avoid installing during high humidity
Think of it like lawn edging—if the ground isn’t compact and dry, edges shift or collapse. Same principle, different surface.
6. Use White Thinset And Get the Consistency Right
White thinset is non-negotiable for travertine. Unlike grey variants, it prevents discoloration of lighter tiles. Because travertine absorbs, your adhesive becomes part of its final appearance.
Mix to a peanut-butter texture—not runny—and back-butter large tiles before placing. Don’t rush this step—it directly affects bond strength and surface levelness.
Use tile spacers for uniform gaps and follow the manufacturer’s instructions on working time. This ensures consistent drying and avoids hollow spots.
7. Seal the Stone—Before and After Grouting
Sealing isn’t optional. It’s the final layer of protection.
Here’s what pros recommend:
- Seal before grouting to prevent haze in pores
- Seal again after grout cures (usually 72 hours later)
- Choose between natural-look or color-enhancing sealers
If you’re unsure… test a small area. Enhancing sealers give that “wet stone” effect, while natural sealers preserve original tones. This step is where many skip corners. Don’t. It’s what turns a standard install into a high-end finish.
Why You Shouldn’t Skip Expert Advice?
DIY tutorials are everywhere, but travertine isn’t like ceramic or vinyl. Its unique properties require skill, patience, and precision. Professionals understand nuances—like trowel direction, pressure application, and correcting warps—that make the difference between average and exceptional results.
And if you’ve already looked into services like SOD installers near me on Google, it’s clear you value curb appeal and long-lasting results. Apply the same care indoors.
The Ending Note: Let the Stone Speak
Travertine isn’t just about looks…it’s about lasting comfort and quiet elegance. When installed with care, it elevates the feel of your entire home.
For seamless results inside and out, trust teams who value precision. While your floors take shape indoors, let CGL Landscaping handle the finishing touches beyond the walls.
Because professional travertine installation in East Mesa, AZ deserves to be part of a complete, beautifully crafted space.